Vertex Color 응용
16-1일차 Vertex Color
Vertex Color : 각 Vertex에 RGB 색상 값 또는 알파값을 선택적으로 저장할 수 있는 기능 여기서 Vertex란 단어 의미 그대로는 꼭지점을 의미한다 이 Vertex에는 각각 고유의 색이 있고 기본으로 주어지는
sangeun00.tistory.com
16-2일차 Vertex Color Masking
이번엔 Vertex Color를 마스킹으로 이용하여 멀티 텍스쳐 기능을 만들어보겠다 Shader "Custom/NewSurfaceShader" { Properties { _MainTex ("MainTex", 2D) = "white" {} _MainTex2 ("MainTex", 2D) = "white" {} _MainTex3 ("MainTex", 2D) = "w
sangeun00.tistory.com
앞서 배운 Vertex Color에 대한 응용문제를 풀어보겠다
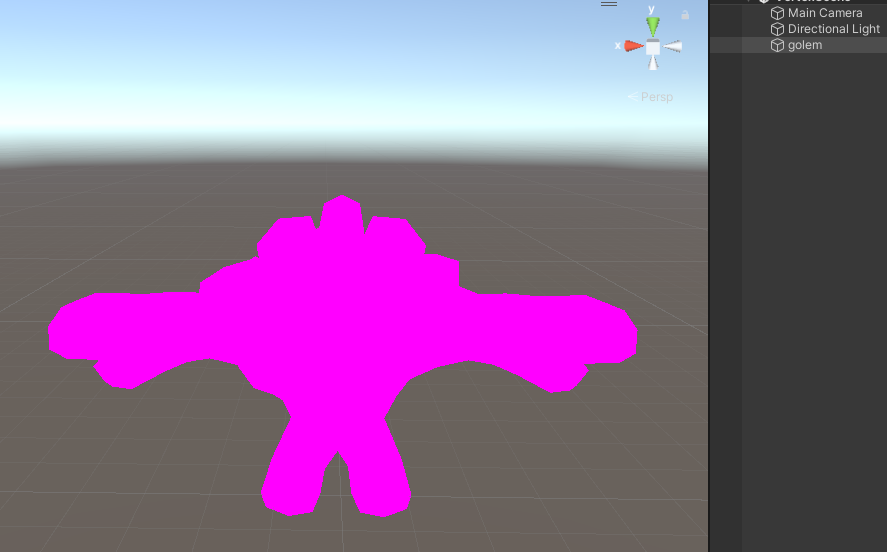
빈 프로젝트 golem을 만들고 그 안에 RockGolemMesh를 넣어준다
Shader "Custom/NewSurfaceShader"
{
Properties
{
_MainTex ("Albedo (RGB)", 2D) = "white" {}
}
SubShader
{
Tags { "RenderType"="Opaque" }
CGPROGRAM
#pragma surface surf Standard fullforwardshadows
sampler2D _MainTex;
struct Input
{
float2 uv_MainTex;
};
void surf (Input IN, inout SurfaceOutputStandard o)
{
fixed4 c = tex2D(_MainTex, IN.uv_MainTex);
o.Emission = c.rgb;
}
ENDCG
}
FallBack "Diffuse"
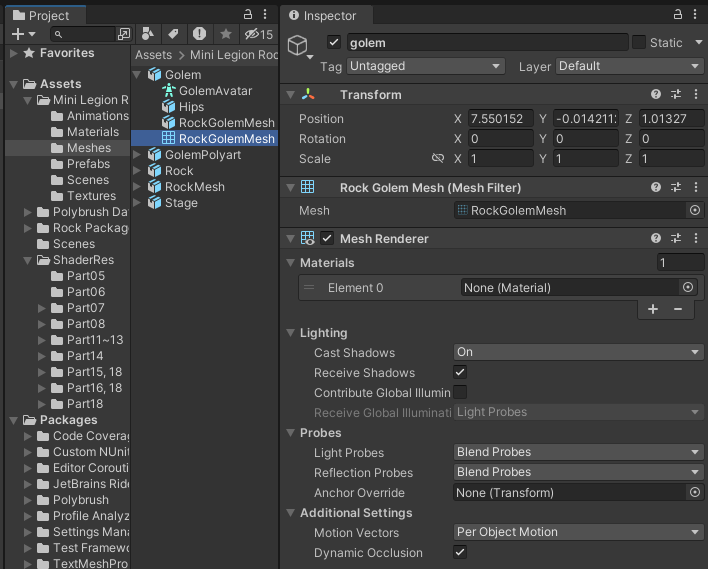
}텍스쳐 하나 입력받고 출력하는 기본 스크립트를 하나 만들어준뒤 golem안에 넣어준다


그리고 Material 안에 텍스쳐를 넣어주면 적용되는것을 볼 수 있다
  struct Input
        {
            float2 uv_MainTex;
            float4 color:COLOR;  // 추가
        };

        void surf (Input IN, inout SurfaceOutputStandard o)
        {
            fixed4 c = tex2D(_MainTex, IN.uv_MainTex);
            o.Albedo = IN.color.rgb;  //추가
        }
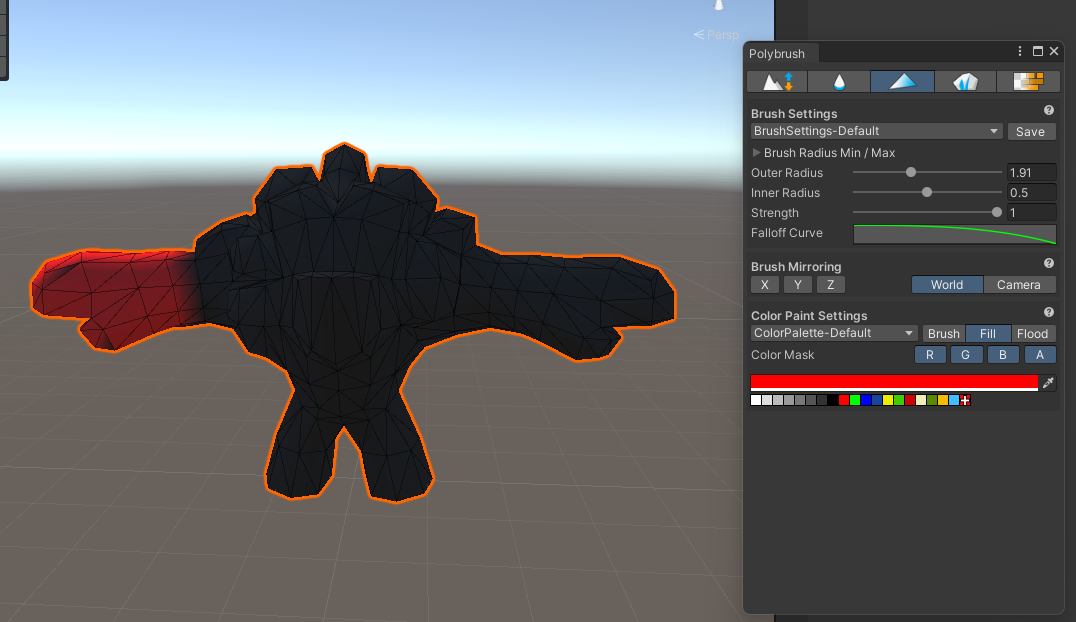
코드를 수정해준뒤 Flood로 전체를 검정으로 칠해준뒤 Fill로 왼쪽손을 칠해준다(brush는 잘 안칠해짐)
o.Albedo = IN.color.rgb + c.rgb;이제 Vertex Color 텍스쳐를 동시에 출력해보자


이렇게 변경된 Mesh는 Export Mesh Asset에서 따로 저장할수가 있다


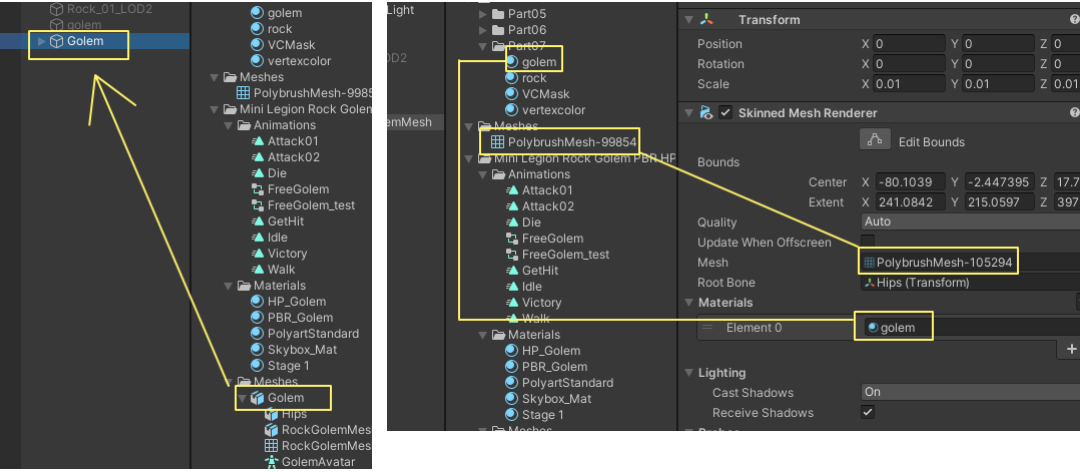
그리고 이렇게 원본에 저장된 Mesh를 적용하는것도 가능하다고 한다
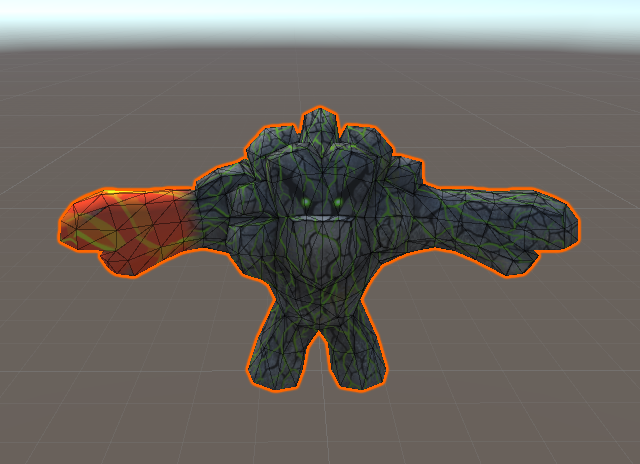
다시 본론으로 들어와 lerp 함수를 이용하여 골렘의 왼손에 칠한 부분을 다른 텍스쳐로 바꾸어보겠다
Shader "Custom/NewSurfaceShader"
{
    Properties
    {
        _MainTex ("Albedo (RGB)", 2D) = "white" {}
        _MainTex2("Albedo (RGB)", 2D) = "white" {}

    }
    SubShader
    {
        Tags { "RenderType"="Opaque" }

        CGPROGRAM
        #pragma surface surf Standard fullforwardshadows
        sampler2D _MainTex;
        sampler2D _MainTex2;


        struct Input
        {
            float2 uv_MainTex;
            float2 uv_MainTex2;

            float4 color:COLOR;
        };

        void surf (Input IN, inout SurfaceOutputStandard o)
        {
            fixed4 c = tex2D(_MainTex, IN.uv_MainTex);
            fixed4 t = tex2D(_MainTex2, IN.uv_MainTex2);

            o.Albedo = lerp(c.rgb,t.rgb, IN.color.r);
        }
        ENDCG
    }
    FallBack "Diffuse"
}
이미 해본 내용을 복습하는거라 간단하다
_MainTex2라는 이름으로 똑같이 입력받고 출력할 텍스쳐를 하나 더 만든뒤
o.Albedo = lerp(c.rgb,t.rgb, IN.color.r);
lerp함수로 둘을 섞어주면 된다.
여기서 헷갈리면 안되는게 몇개 있는데 lerp함수는 두 텍스쳐를 더하는것도, 곱하는것도 아닌 나열하는것이다
o.Albedo = lerp(c.rgb,t.rgb, IN.color.r); (O)
o.Albedo = lerp(c.rgb + t.rgb, IN.color.r); (X)
그리고 3번째 값에는 섞는 정도를 넣어줘야 하는데 처음에 배운대로 반반 섞겠다고 0.5를 넣으면 이렇게된다
o.Albedo = lerp(c.rgb + t.rgb, 0.5);

정말 말 그대로 두 텍스쳐가 통째로 섞여버린다.
Vertex Color를 사용할땐 무조건 빨강으로 칠한뒤 IN.color.r값으로 비율을 맞추는게 가장 정석이다
o.Albedo = lerp(c.rgb,t.rgb, IN.color.r);
fixed4 c = tex2D (_MainTex, IN.uv_MainTex);
fixed4 d = tex2D(_MainTex2, IN.uv_MainTex2);
fixed4 e = tex2D(_MainTex3, IN.uv_MainTex3);
o.Emission = lerp(c.rgb, d.rgb, IN.color.r);
o.Emission = lerp(o.Emission, e.rgb, IN.color.g);
만약 반대쪽 손에도 하나 더 추가하고 싶다면 이런식으로 가능하다
이미 정리해 두었으니 더 자세한 설명은 이 글을 참고하면 된다
16-2일차 Vertex Color Masking
이번엔 Vertex Color를 마스킹으로 이용하여 멀티 텍스쳐 기능을 만들어보겠다 Shader "Custom/NewSurfaceShader" { Properties { _MainTex ("MainTex", 2D) = "white" {} _MainTex2 ("MainTex", 2D) = "white" {} _MainTex3 ("MainTex", 2D) = "w
sangeun00.tistory.com